Saving to Your OneDrive - Mac
From Help Wiki

Contents
Which Method Should I Use?
- "I need to save a new file created in a Microsoft Office app like Word"
- "I need to save a new file from a Windows application"
- "I need to move a file I've already saved on my desktop into my OneDrive"
Saving a New File from a Microsoft Application
OneDrive is automatically integrated with other Microsoft Office apps such as Word and Excel. Saving files to your OneDrive also enables Office apps to auto-save your work to OneDrive so you’ll always have access to the latest version of your documents.
- Click "File" in menu bar at the top left of your screen to open the file menu. Make sure you are currently in your document window.
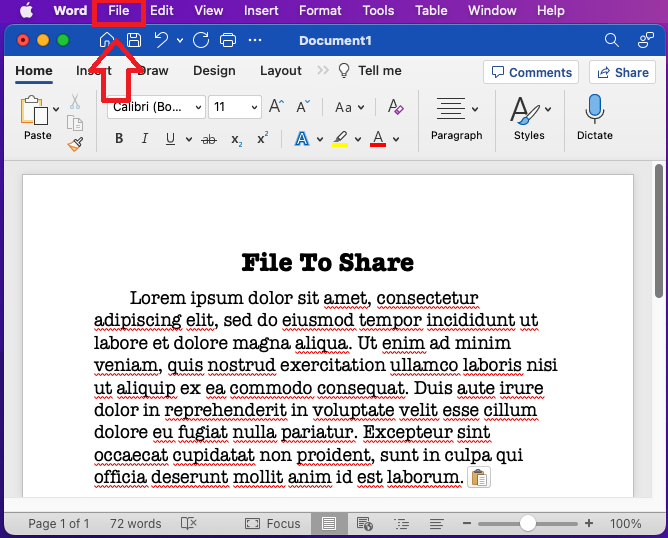
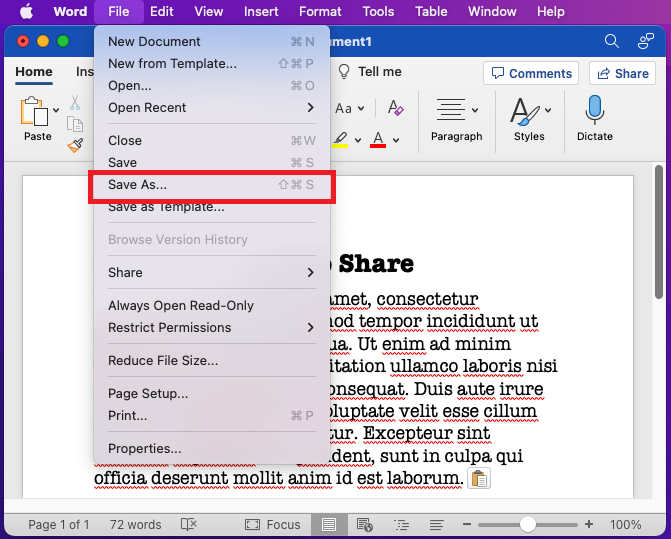
- Select "Save As..." from the file menu. This will open the save menu.
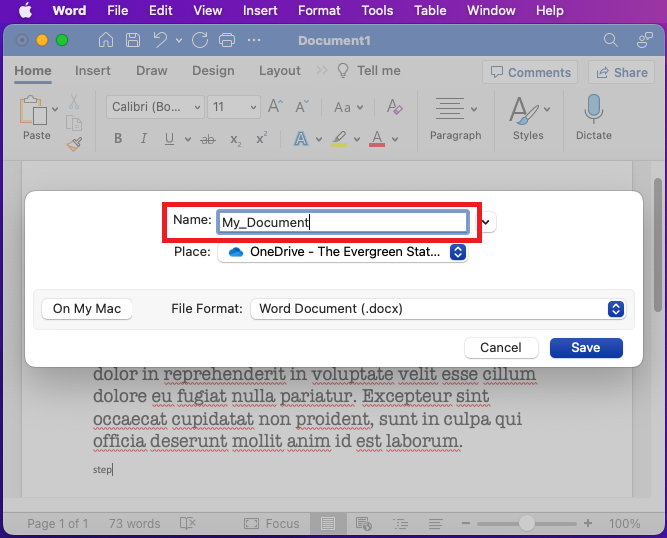
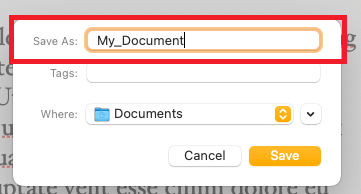
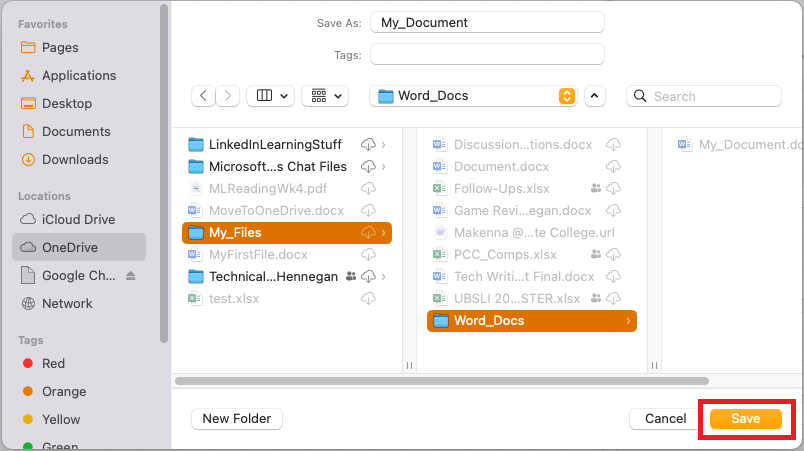
- Name your document by typing a file name into the text box next to "Name".
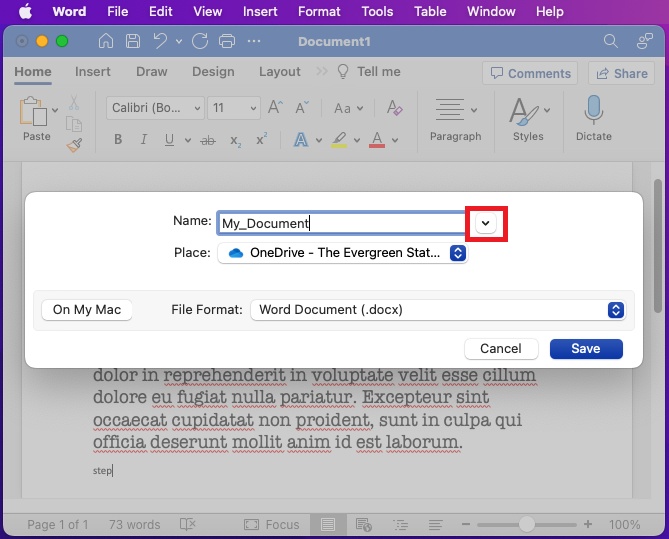
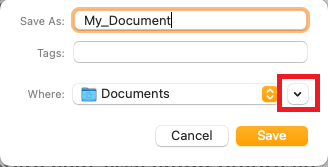
- Click the down arrow icon located to the right of the "Name" text box. This will expand the save menu to show more locations on your computer.
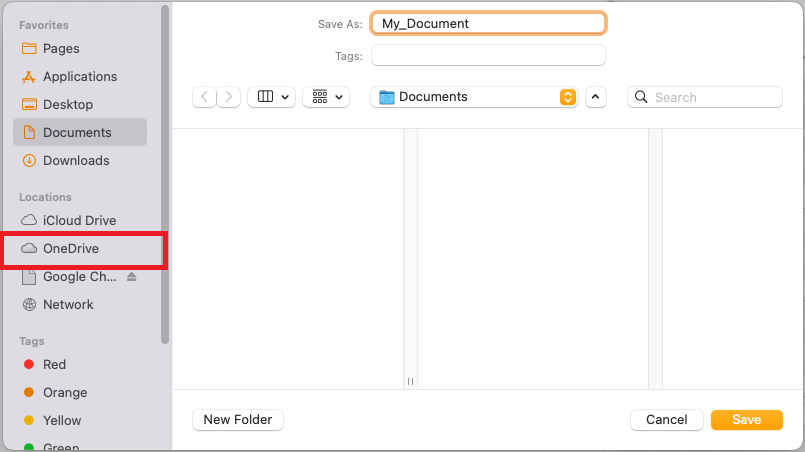
- Select "OneDrive - The Evergreen State College" in the leftmost section. This will change the middle section to show the file structure within your OneDrive.
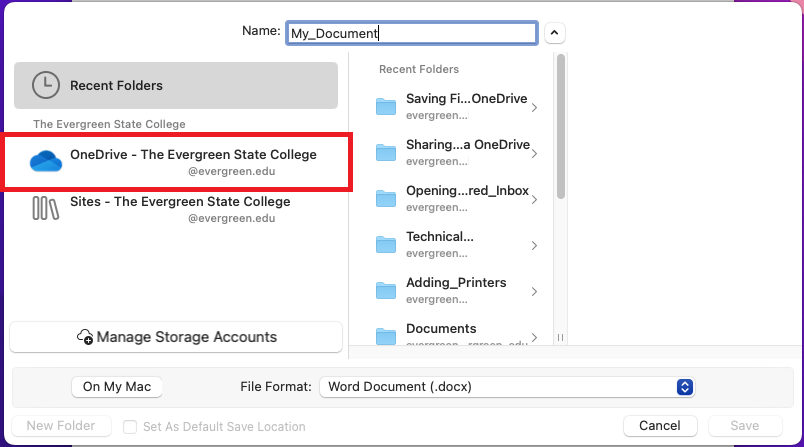
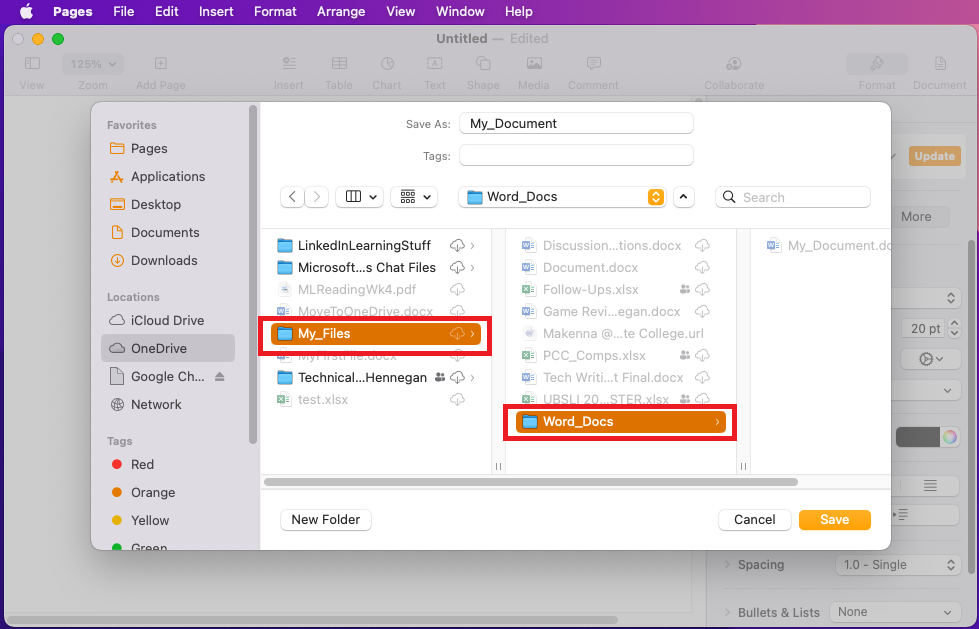
- Navigate to desired save location (Optional). You can keep yourself better organized by saving things in folders within your OneDrive. Click on folder names to navigate into them until you find the folder you want to save your file to.
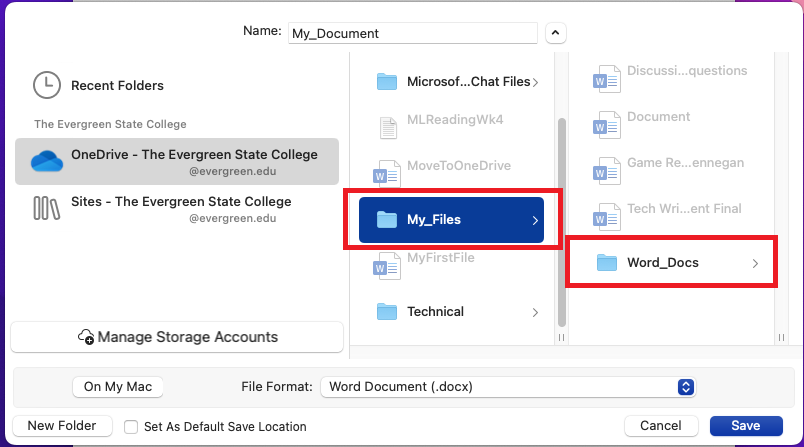
- Click "Save" at the bottom of the save window.


Saving a File from a Desktop Application
You can save a file from any application on your Mac directly to your OneDrive by using Finder. While every application may look different, most follow a similar process detailed below. Note that examples photos were taken using the Pages application.
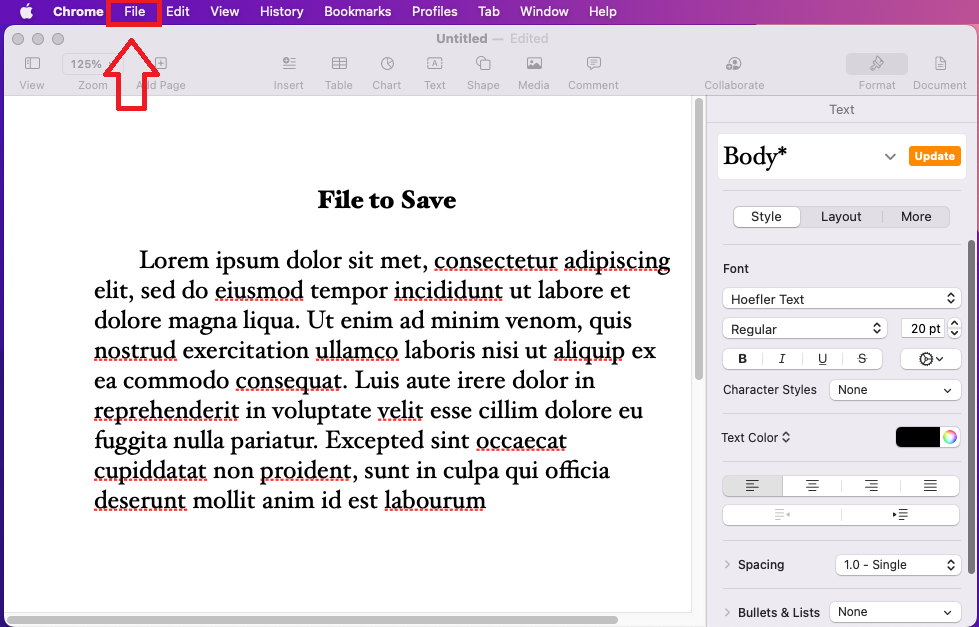
- Click "File" 'in the menu bar at the top left of your screen to open the file menu. Make sure you are currently in your document window.
- Select "Save" from the file menu. This will open the save menu.
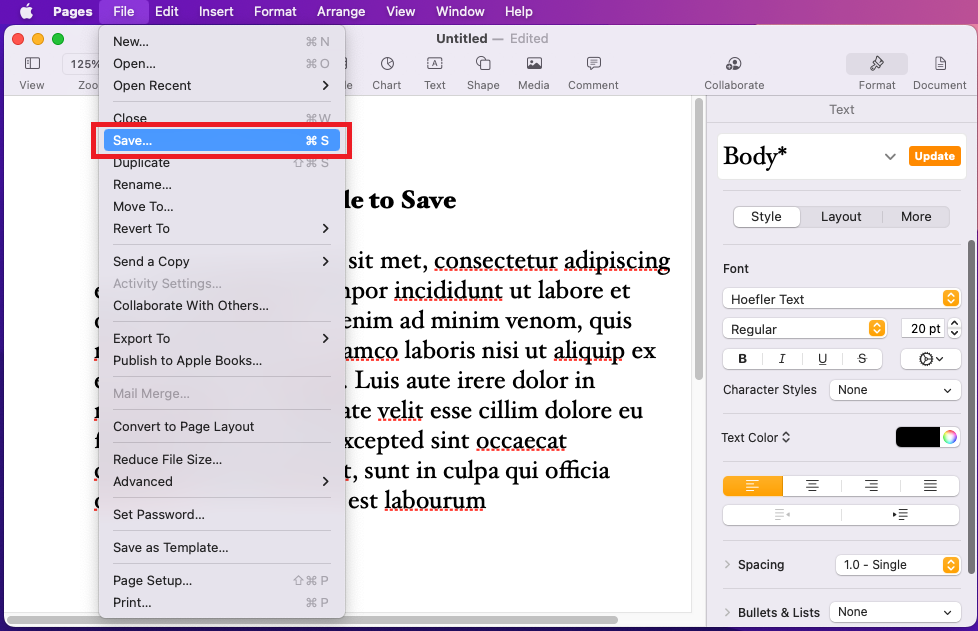
- Name your document by typing a file name into the text box next to "Save As:".
- Click the down arrow icon located to the right of the "Where" dropdown selection box. This will expand the save menu to show more locations on your computer.
- Select "OneDrive - The Evergreen State College" in the leftmost section. This will change the middle section to show the file structure within your OneDrive.
- Navigate to desired save location (Optional). You can keep yourself better organized by saving things in folders within your OneDrive. Click on folder names to navigate into them until you find the folder you want to save your file to.
- Click "Save" at the bottom of the save window.


Moving an Existing File via Finder
For files already saved on your desktop, you can move them to your OneDrive using Finder.
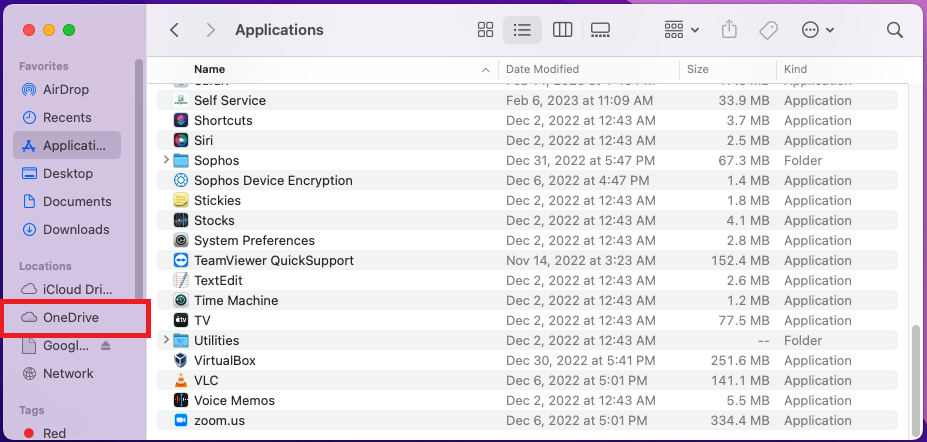
- Open Finder by clicking on the face icon on your task bar. Usually, the Finder application will be located as the first icon on the left.

- Click "OneDrive" to navigate into your OneDrive. OneDrive will be located in the left menu under the section "Location". You may need to scroll down to find it.
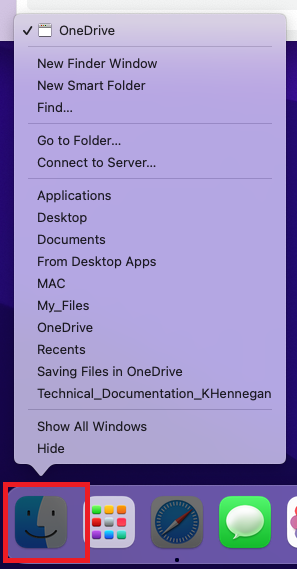
- Right-Click the Finder icon to open an options menu. Make sure to right-click as a left-click will bring you back to the Finder window you already have open.
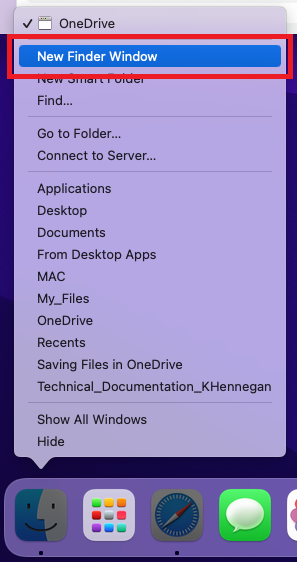
- Select "New Finder Window" located at the top of the options menu. This should open a second Finder window besides the first.
- Navigate to your file in the SECOND Finder window. You should now have one Finder window open to your OneDrive and a second Finder window open to your document location.
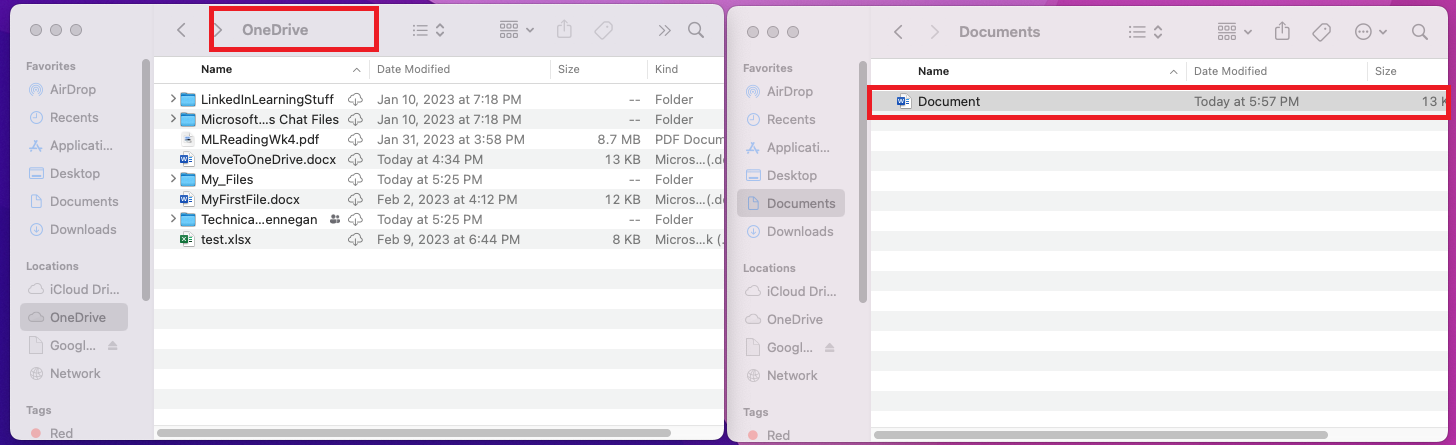
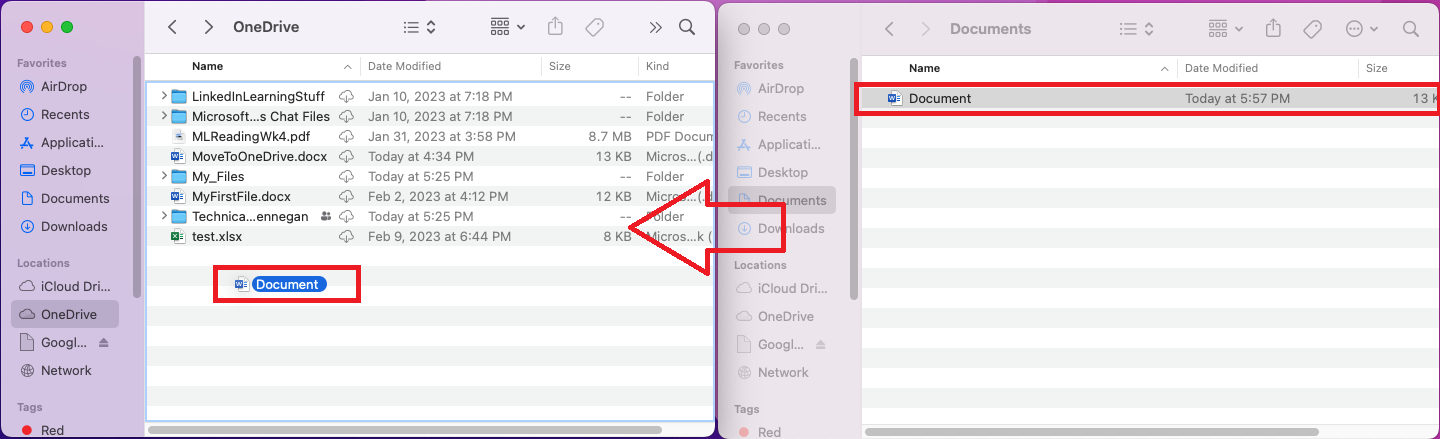
- Click and drag your document from the second Finder window into the other Finder window displaying your OneDrive.
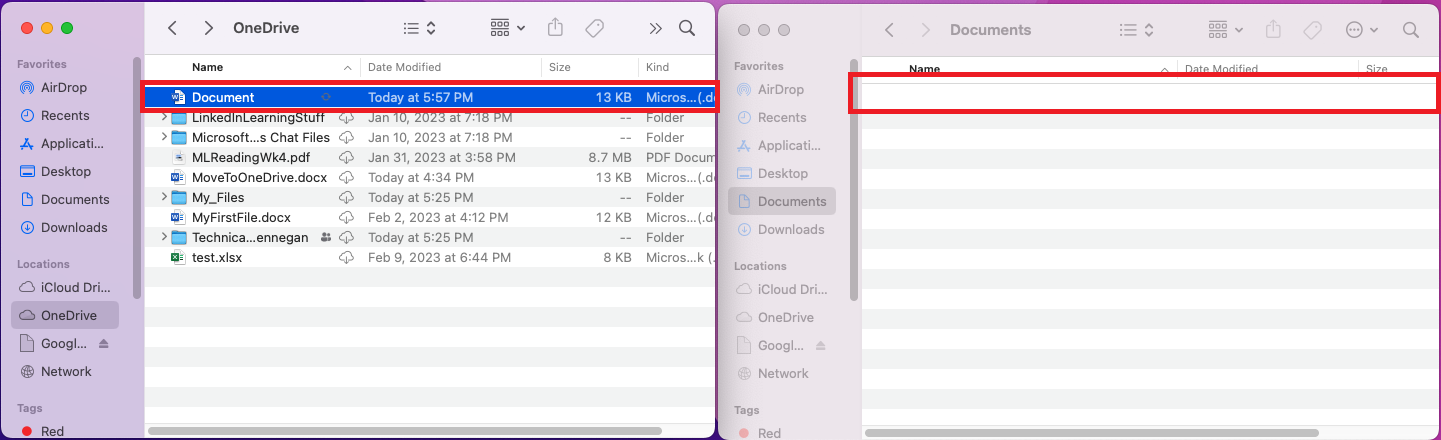
- Release your Mouse button. This will move your document into OneDrive. Your document should be listed in the first Finder window and be missing from the second.


Still Need Help?
If you've follow this guide but can't get your file saved to OneDrive, reach out to support@evergreen.edu or submit a help ticket at help.evergreen.edu