Sharing Your First File with OneDrive - Windows
From Help Wiki

Contents
[hide]Sharing via File Explorer
Part I: Selecting the File
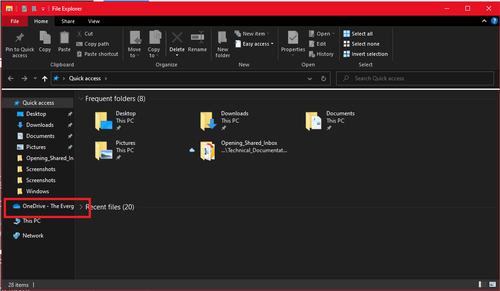
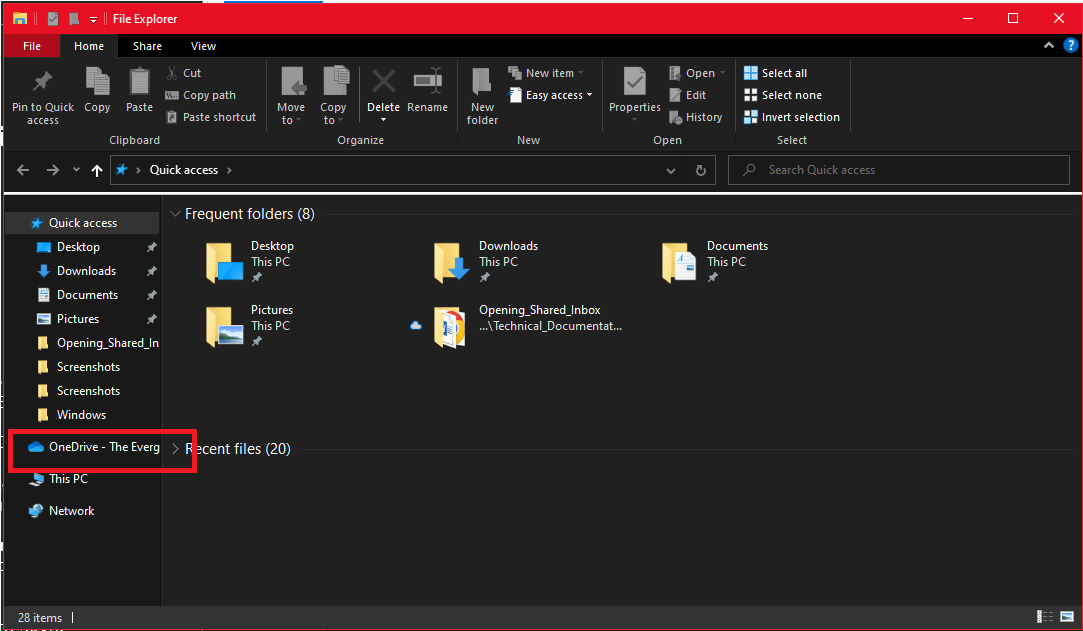
- Open File Explorer
- Navigate to your OneDrive. On the left side of the explorer window, your OneDrive will be listed as "OneDrive - The Evergreen State College".
- TIP: You can click the dropdown arrow next to OneDrive to see your folders within OneDrive.
- TIP: You can click the dropdown arrow next to OneDrive to see your folders within OneDrive.
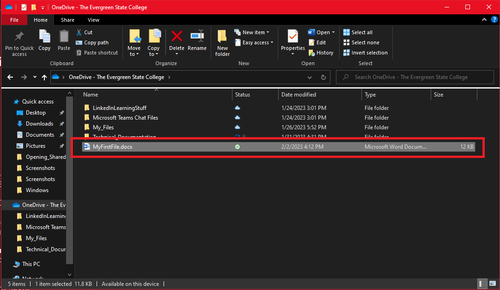
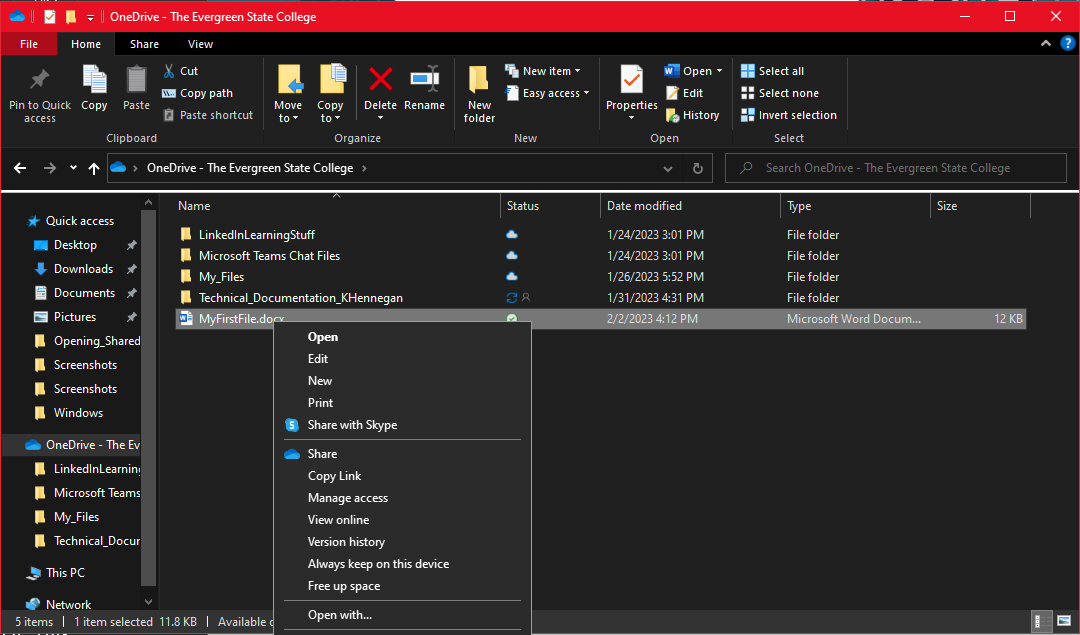
- Locate the File. You'll need to find the file you're trying to share within your OneDrive. If the file isn't already saved to your OneDrive folder, you'll need to move it there.
- Right-Click the File. Right-click the file to open the options menu.
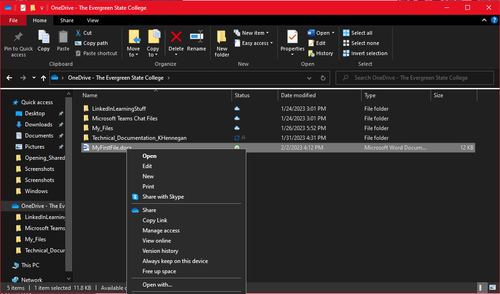
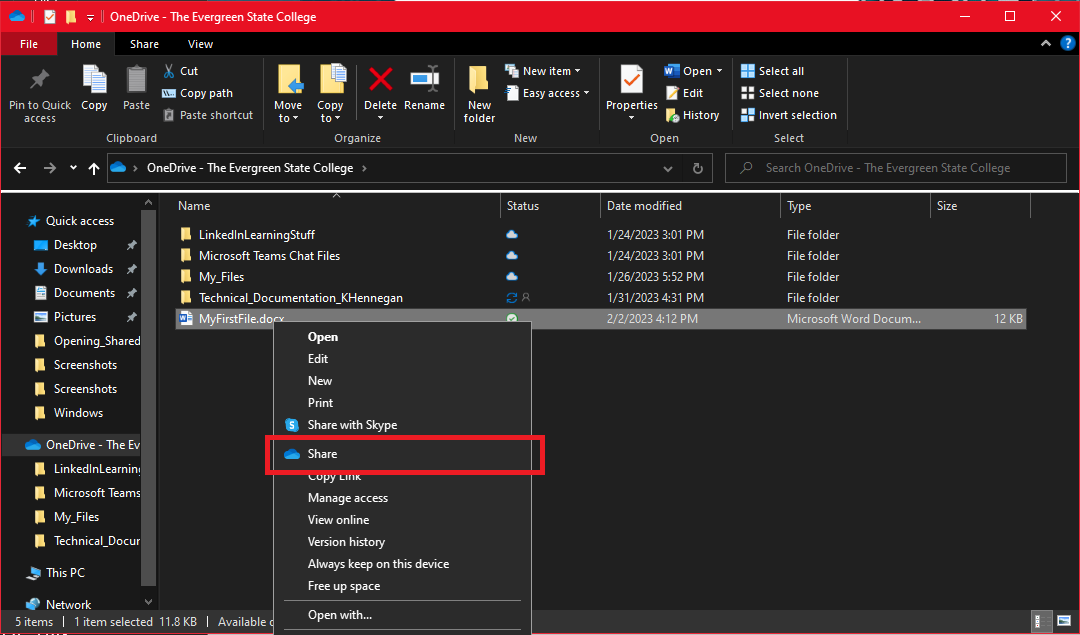
- Select "Share". This option is located in the second section of the menu with the OneDrive logo, a small blue cloud, next to it. This will open the share window.
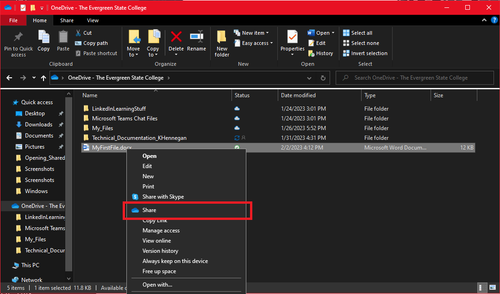
- TIP: Make sure to choose "Share" and not "Share with Skype".

Part II: Adjusting Permissions
The share window provides a multitude of options in order to manage who has access to your document and what they can do with it. This guide walks you through setting the most basic permissions to immediately share a document with one person.
- Enter the email address of intended recipients. In the "To:" box, enter the Evergreen email of the person you want to share the document with. Select their name as it pops up from the dropdown.
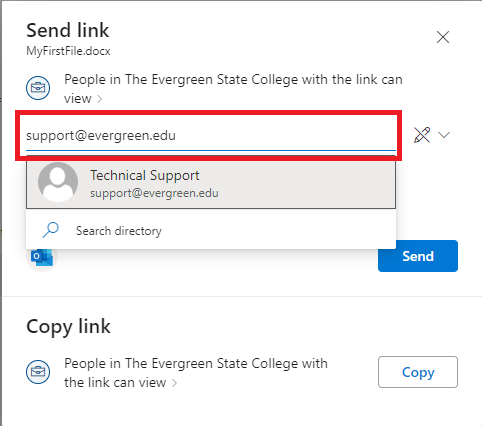
- TIP: You can continue doing this with as many people as you want, as long as they have an @evergreen.edu email address!
- TIP: You can continue doing this with as many people as you want, as long as they have an @evergreen.edu email address!
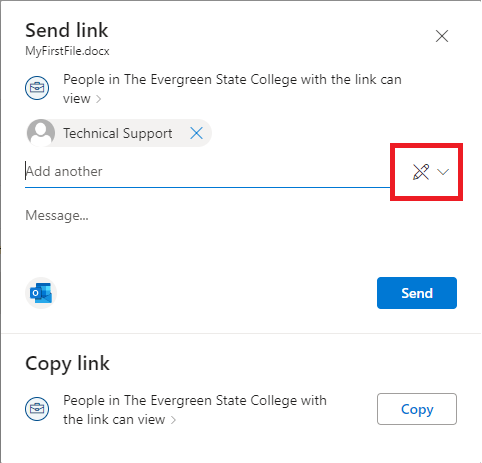
- Adjust sharing permissions. Click the icon located to the right of the "To" box to open the permissions drop down menu. Here you can select the level of control the recipients will have over the document.
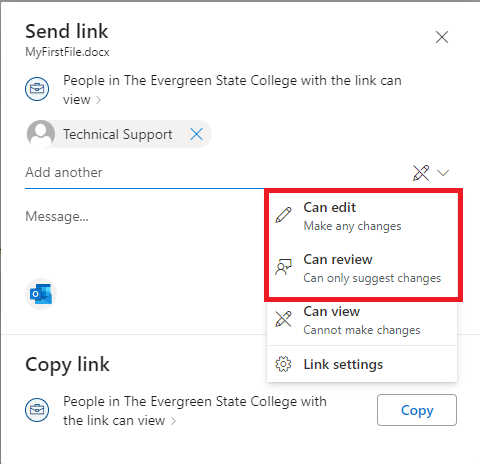
- Select "Can Edit" OR "Can Review". Editing permissions will allow the person you share the document with to make edits to your file. If you do not want them to be able to make changes, we recommend using "Can Review".
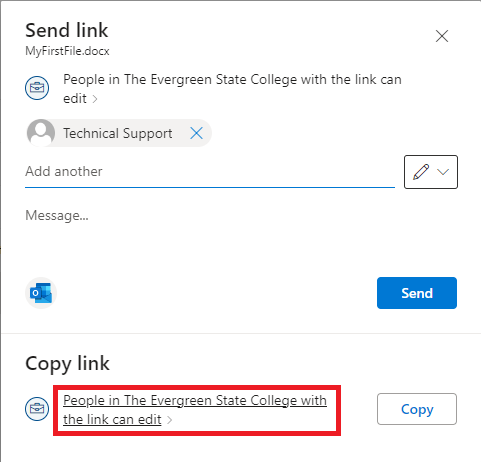
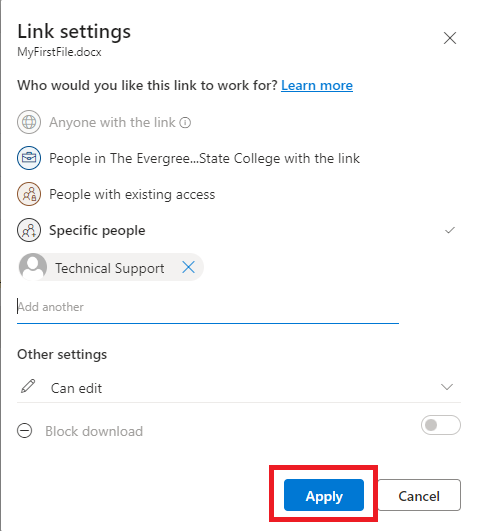
- Adjust Link Permissions. At the bottom of the share window, click the link labeled "People in The Evergreen State College with the Link" to open the Link settings menu.
- Click "Specific People" to keep access limited to those you share the document with.
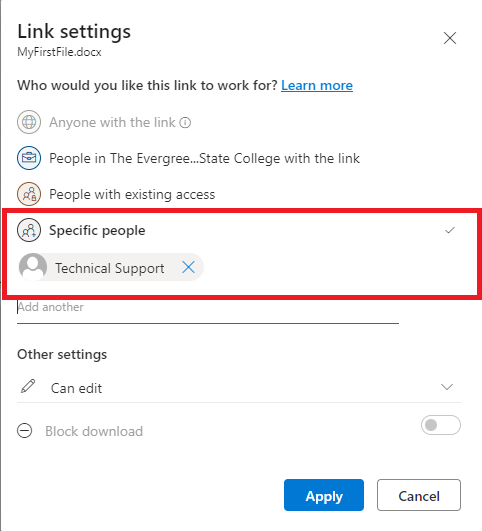
- Click "Apply" button located at the bottom of the menu screen.
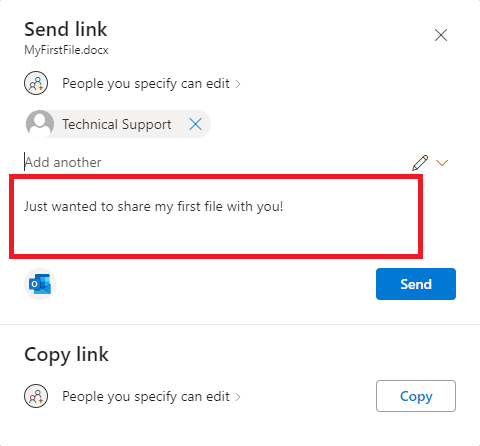
- Include a message (Optional): Sharing your files this way will automatically send an email notification to the recipient with the link to the document you've shared. To include a message in this email, write one in the provided message box of the share window.
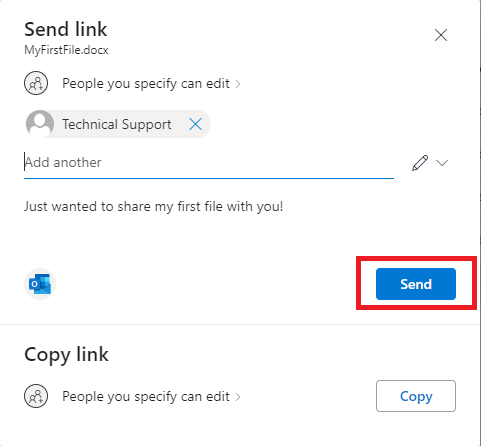
- Click "Send". Apply the share permissions by clicking "send". This will automatically notify your recipient list you've shared the document with them via email.
Still Need Help?
If you've followed this guide but can't get your document shared, reach out to support@evergreen.edu or submit a help ticket at help.evergreen.edu