|
|
| (One intermediate revision by the same user not shown) |
| Line 8: |
Line 8: |
| | (Fig. 2.0) | | (Fig. 2.0) |
| | </center> | | </center> |
| | + | [[File:2DOnionskin (480x270).gif|centre|300x300px|thumb]] |
| | + | <center> |
| | + | (Fig. 2.6) |
| | + | </center> |
| | + | |
| | + | <center>(A GIF example of onion skinning with 2D Animation.)</center> |
| | </div> | | </div> |
| | <hr> | | <hr> |
Latest revision as of 10:12, 28 November 2018
2D Animation (Hand-Drawn)
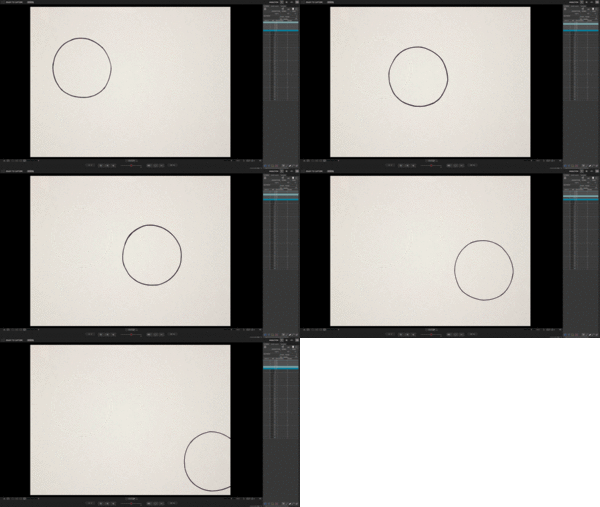
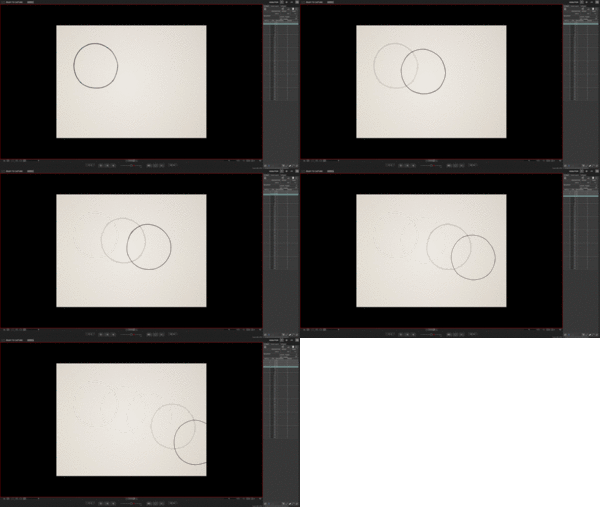
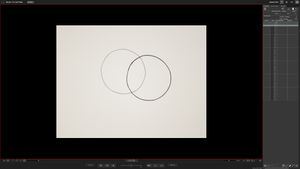
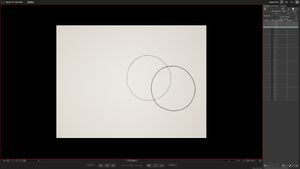
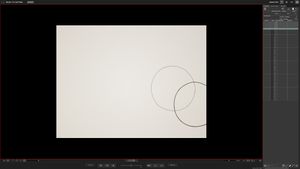
- For 2D Animation, we will use a hand drawn circle to demonstrate how Onion skinning works. Be aware that if the lines are darker, then it's on the Live View when the onion skin is activated.
(Fig. 2.0)
(Fig. 2.6)
(A GIF example of onion skinning with 2D Animation.)
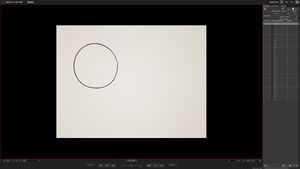
(Fig. 2.1)
1.The first frame (Fig. 2.1), without the Onion skin, shown in the Live-View.
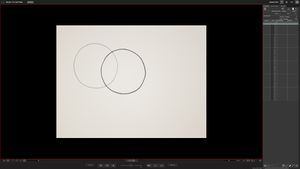
(Fig. 2.2)
2.Right after taking the shot of the first frame, the opacity is lower. The second frame (Fig. 2.2), with thicker lines, has been drawn and ready to be taken as a shot through the Live-View, while the previous frame is pushed to the background.
(Fig. 2.3)
3.Right after taking the frame shot of the second frame, the opacity is lower. The third frame (Fig. 2.3), with thicker lines, has been drawn and ready to be taken as a shot through the Live-View.
(Fig. 2.4)
4.Right after taking the frame shot of the third frame, the opacity is lower.The fourth frame (Fig. 2.4), with thicker lines, has been drawn and ready to be taken as a shot through the Live-View.
(Fig. 2.5)
5.Right after taking the frame shot of the fourth frame, opacity is lower.The fifth frame (Fig. 2.5), with thicker lines, has been drawn and is ready to be taken as a shot through the Live-View.
(Fig. 2.6)
(A GIF example of onion skinning with 2D Animation.)

