Difference between revisions of "Printing Booklets (Windows) - InDesign"
From Help Wiki
(Created page with "===InDesign on a Windows Computer=== # Once your document is open, go to '''File > Print Booklet''' Step 1 #Under the '''Print Preset'''...") |
m |
||
| Line 11: | Line 11: | ||
#Click the '''Preview''' button at the bottom left of the window to check on your formatting | #Click the '''Preview''' button at the bottom left of the window to check on your formatting | ||
#Double check that the preview looks how you want your booklet to print. If you're satisfied, click '''Print''' | #Double check that the preview looks how you want your booklet to print. If you're satisfied, click '''Print''' | ||
| + | |||
| + | See also: [[Printing Booklets (Mac) - InDesign]] | ||
[[Category:InDesign]] | [[Category:InDesign]] | ||
Revision as of 11:35, 16 May 2013
InDesign on a Windows Computer
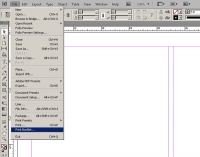
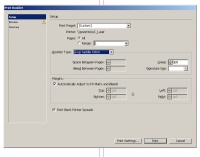
- Once your document is open, go to File > Print Booklet
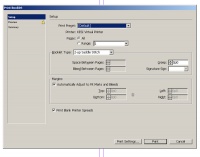
- Under the Print Preset dropdown menu, select "Default."
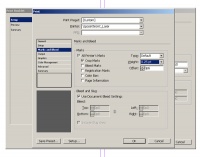
- Click the "Print Settings" button at the bottom of the window
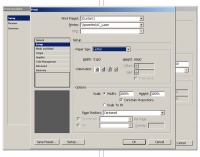
- Check to make sure that "ac_laser" is selected as your Printer
- Select the "Setup" menu. Check your paper size and page position
- Select the "Marks and Bleed" menu. Check "Crop Marks" and set "Weight" to 0.25
- Click the "Printer..." button at the bottom of the window
- On Windows, press "OK," the next screen has the options
- Open the Duplex Printing & Margin drop down
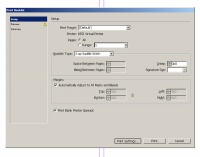
- Click the Preview button at the bottom left of the window to check on your formatting
- Double check that the preview looks how you want your booklet to print. If you're satisfied, click Print
See also: Printing Booklets (Mac) - InDesign

