Difference between revisions of "Connect to Hurricane - Linux"
From Help Wiki
| Line 1: | Line 1: | ||
{{stub}} | {{stub}} | ||
| + | [[Image:step0.jpg|thumb|250px|right|Figure 1]] | ||
| + | [[Image:step1.jpg|thumb|250px|right|Figure 2]] | ||
| + | [[Image:step2.jpg|thumb|250px|right|Figure 3]] | ||
| + | [[Image:step3.jpg|thumb|250px|right|Figure 4]] | ||
| + | ITS EASY! | ||
| + | |||
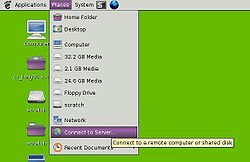
| + | #Go to 'Places' , then 'Connect to Server'. | ||
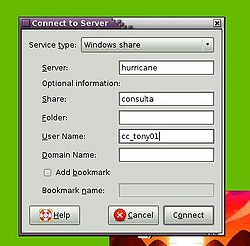
| + | #Select 'Windows share' under 'Service type'. | ||
| + | #Type in 'hurricane' in the 'Server:' field. | ||
| + | #Type in the name of the folder you need in the 'Share' field. | ||
| + | #You may or may not need to type in your user name in the 'User Name' field. | ||
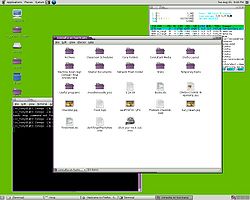
| + | #Click Connect! | ||
Revision as of 17:03, 25 August 2009
File:Step3.jpg
Figure 4
ITS EASY!
- Go to 'Places' , then 'Connect to Server'.
- Select 'Windows share' under 'Service type'.
- Type in 'hurricane' in the 'Server:' field.
- Type in the name of the folder you need in the 'Share' field.
- You may or may not need to type in your user name in the 'User Name' field.
- Click Connect!
- See also


