State and Local Government- Separating Audio from Video Files
From Help Wiki
Using Adobe Media Encoder
Use this method if you are wanting to just separate a video and file. If you are wanting to make a selection from the video and then export only the audio, you will need to use Premiere Pro.
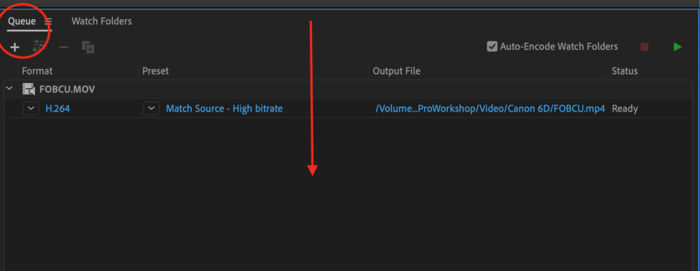
- Launch the Adobe Media Encoder application that is part of the Adobe Creative Cloud Suite.
- Locate the file you are wanting to separate the video from the audio and drag it into the Queue panel in the Media Encoder.
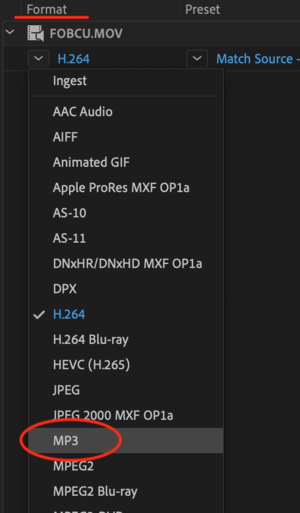
- Toggle the triangle beside the blue text under Format and select mp3.
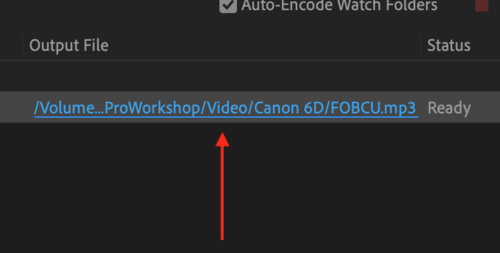
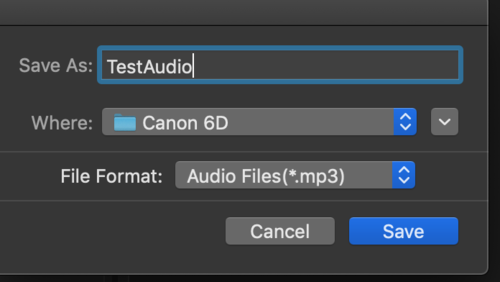
- Click on the blue text under the Output File and rename your file if needed and verify where the file is saving on your local computer.
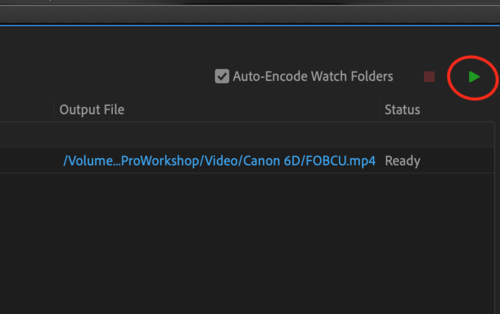
- Start the export process by clicking the green triangle.
- After the export, open your file to verify that the export was successful.
- You can then import this audio file into Audacity.
Using Adobe Premiere Pro
Use this method if you are wanting to make a selection from the video and then export only a selection of audio.
- Import the file you are wanting to use by selecting the File Menu > Import > and select your video.
- Double click on the video in your Project Panel which will open it in the Source Monitor.
- Scrub through your footage in the Source Monitor by dragging the blue playhead or use play and stop (can use the spacebar or controls within the panel).
- Once the playhead is at the frame you would like your clip to begin, pause your playback and type "i". This will set an "in-point" or your new clip boundary.
- Play ahead until you find the frame where you are wanting your selection end, pause and type "o" to set an "out-point." *Note: Feel free to give yourself extra room on either side of your selection as excess can be trimmed in Audacity.
- Once you have completed your selection, put your cursor on the Waveform Icon (if moused over this will say Drag Audio Only) and hold down your cursor while dragging from this icon into the Timeline Panel and then release your cursor.
- This will open your audio file in your Timeline.
- Now you can export this file by going File > Export > Media.
- This will open the Premiere Export Dialog Box.
- Change the format to MP3, check to see where your file is saving clicking on the blue text by Output File and save, and then hit export.
- After the export, open your file to verify that the export was successful.
- You can then import this audio file into Audacity.

