Difference between revisions of "Keyframe Editing - Premiere Pro"
From Help Wiki
(→View Keyframes in the Effect Controls panel) |
|||
| Line 13: | Line 13: | ||
# To view the '''Value''' and '''Velocity''' graphs of an effect property, click the triangle next to the '''Toggle Animation''' icon [[File:PP_WatchOff_N.png]].[[File:PP_effects_conntrol.png]] | # To view the '''Value''' and '''Velocity''' graphs of an effect property, click the triangle next to the '''Toggle Animation''' icon [[File:PP_WatchOff_N.png]].[[File:PP_effects_conntrol.png]] | ||
| + | ===Navigate Keyframes=== | ||
| + | ===Add Keyframes=== | ||
| + | |||
| + | |||
| + | ===Select Keyframes=== | ||
| + | |||
| + | |||
| + | ===Delete Keyframes=== | ||
[[category:Premiere Pro]] | [[category:Premiere Pro]] | ||
Revision as of 15:42, 18 October 2012
Keyframes can be used to change values over time for various effects.
A keyframe marks the point in time where you specify a value, such as spatial position, opacity, or audio volume. Values between keyframes are interpolated. To create a change in a property over time, you set at least two keyframes—one keyframe for the value at the beginning of the change, and another keyframe for the value at the end of the change.
Contents
Effects Control Panel
View Keyframes in the Effect Controls panel
- Select a clip in the Timeline panel.
- Click on the Effects Controls panel.
- Click the triangle to the left of the effect name to expand the effect you want to view. Any existing keyframes will display in the Effect Controls timeline.
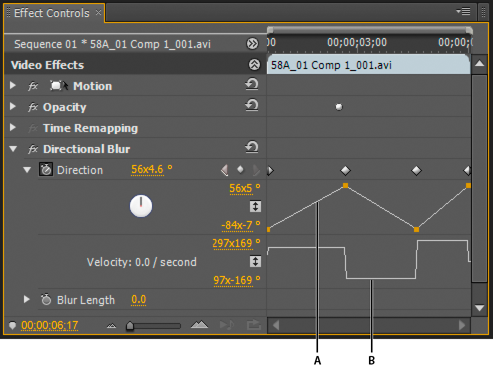
- To view the Value and Velocity graphs of an effect property, click the triangle next to the Toggle Animation icon
 .
.
