Difference between revisions of "Interrogating Emotions - Uploading Images"
From Help Wiki
(→File Space Overview) |
(→File Space Overview) |
||
| Line 3: | Line 3: | ||
__NOTOC__ | __NOTOC__ | ||
| − | + | ===Uploading Images to WordPress=== | |
| − | + | ||
| − | + | ||
</div> | </div> | ||
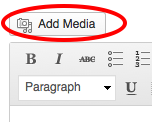
[[Image:imagemenu.png|thumb|250px|right|Figure 1]] | [[Image:imagemenu.png|thumb|250px|right|Figure 1]] | ||
Revision as of 09:24, 6 November 2013
File Space Overview
Uploading Images to WordPress
Uploading Images To Wordpress
- While editing your post or page, place the cursor in the page where you'd like the image inserted.
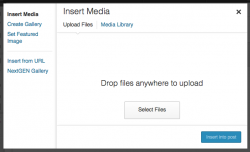
- Click on theAdd Media icon (figure 1) and select an image from your computer (Select Files)
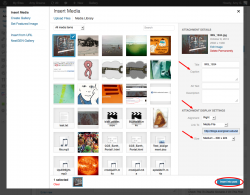
- Customize the image size, alignment, caption
- Click Insert into post
Edit image properties afterwards
You can customize how the image looks once you upload it.
- Clicking on the image once in your page or post then click the edit image icon. This will bring up the dialog box you saw when you first uploaded the image (figure 3).
- From here you can realign, resize and add a caption.
Still have WordPress questions?
- Create a Help Ticket or call the Computer Center at 360-867-6227
- WordPress FAQ - common questions
- WordPress Tutorial - step by step introduction


