Difference between revisions of "Image Settings - WordPress"
From Help Wiki
m |
m |
||
| Line 1: | Line 1: | ||
{{TwoColumn|lead= | {{TwoColumn|lead= | ||
| − | + | Getting to proper image settings and details is an important part of working with graphics in your website. Even after an image has been added to a page it can have its properties edited. | |
|content= | |content= | ||
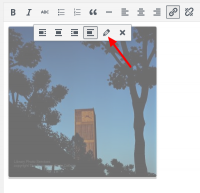
[[File:Wp-edit-image.png|thumb|right|200px|Edit Image Toolbar]] | [[File:Wp-edit-image.png|thumb|right|200px|Edit Image Toolbar]] | ||
Revision as of 10:22, 7 March 2017
Getting to proper image settings and details is an important part of working with graphics in your website. Even after an image has been added to a page it can have its properties edited.
Edit image properties afterwards
You can customize image details even after it's been embedded in a page.
- From the page post edit screen, select the image.
- An edit image toolbar appears where you can adjust image alignment
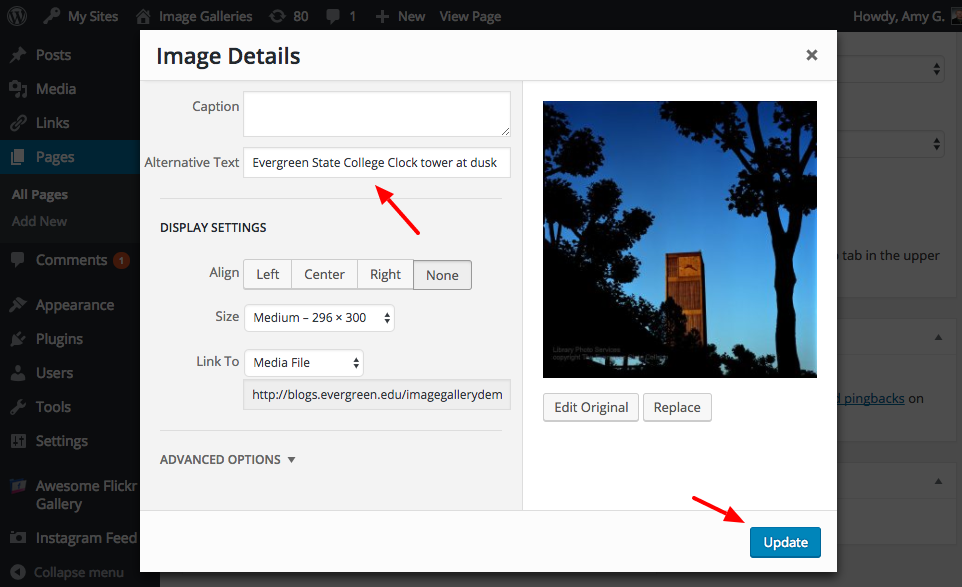
- Edit further by clicking the pencil icon. This will bring up the dialog box you saw when you first uploaded the image.
- From here you can
- Realign
- Resize
- add Alt(ernative) text - Important for accessibility
- and add a caption


